Adding Your Own Images, Text, and Designs
Images: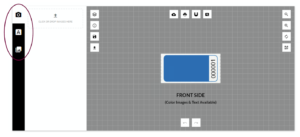
Step 1: Click on the Add Image.
Step 2: Click on or drag your image over to your ticket.
Text:
Step 1: Click on the Add Text.
Step 2: Click on the grey box and start typing. Then click the Add Text Button.
To achieve multiple lines of text, hit the enter button and continue typing.
Designs:
Step 1: Click on the Choose From Designs.
Step 2: Click on the desired design, the image will automatically be placed inside the ticket template.
NOTE: Depending on which type of ticket you have chosen the text, image or design may be cut off or restricted to certain colors.
Styling Text
Changing The Font:
Step 1: Click on the text to make the grey pop up menu appear, then click 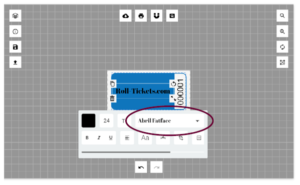
on the Font Named Abril Fatface.
Step 2: Scroll through the available fonts and click on the font style of your choice.
Step 3: Click back to go back to the menu or anywhere outside the grey box to
exit the menu entirely.
Note: To add several different fonts, add one group of text, and then add another group of text. Now both groups can be
styled differently.
Changing The Font Color:
Step 1: Click on the text to make the grey pop up menu appear, then click on the square
black box on the far left of the menu (the word color and a paint bucket icon should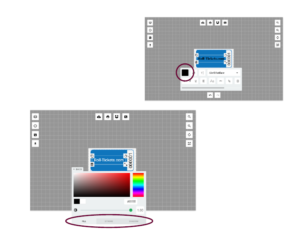
appear when you hover over it).
Step 2: Use sliders or HEX codes to choose a Fill Color, Stoke Color, or Shadow Color.
NOTE: You can Even change the Transparency of the text with the slider at the bottom on the Fill Color menu.
Step 3: Click back to go back to the menu or anywhere outside the grey box to exit the menu entirely.
NOTE: Depending on which type of ticket you have chosen the text may be restricted to certain colors.
Changing The Font Size: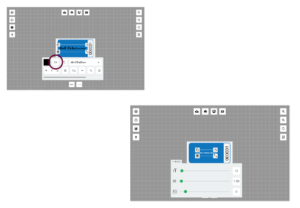
Step 1: Click on the text to make the grey pop up menu appear, then click on the white box
just before the Color Box (it will have a number inside of it).
Step 2: You can either type in the number or use the slider to change the size up or down.
Step 3: Click back to go back to the menu or anywhere outside the grey box to exit the menu entirely.
Changing the Weight, Italic or Underline of the font: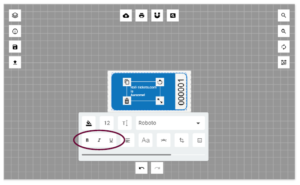
Step 1: Click on the text to make the grey pop up menu appear.
Step 2: You can make your font bold, italic or underlined by clicking the B,I or U icons.
Step 3: Click back to go back to the menu or anywhere outside the grey box to exit the menu entirely.
Aligning Text:
Step 1: Click on the text to make the grey pop up menu appear, then click on the icon with 5 lines.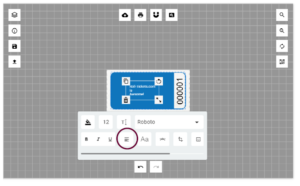
Step 2: Each click on that button will change the alignment.
Step 3: Click anywhere outside the grey box to exit the menu entirely.
Curving Text Option:
Step 1: Click on the text to make the grey pop up menu appear.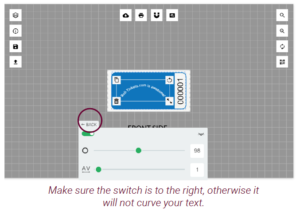
Step 2: If you would like to have curved text, click on the small grey square under the font
option box (when you hover over the square button the word Curved Text should appear).
Step 3: Click on the grey area labeled as switch and then use the sliders to change the radius and spacing.
NOTE: The button in the top right of the Curved Text menu will reverse the curvature of the text.
Step 4: Click back to go back to the menu or anywhere outside the grey box to exit the menu entirely.
Editing Images, Text, and Designs
Editing and Removing Background: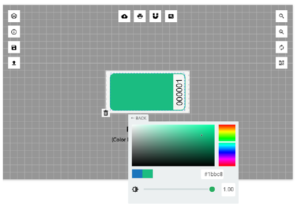
Color: Select background design. An option will appear for color changing.
Removing: Select background design. Click garbage can icon in the lower left corner.
Editing Text: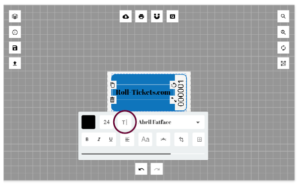
Step 1: Click on the text to make the grey pop up menu appear.
Step 2: Click on the T icon, and start typing in the white box.
Step 3: Click back to go back to the menu or anywhere outside the grey box to exit the menu entirely.
Duplicating Images, Text, and Designs: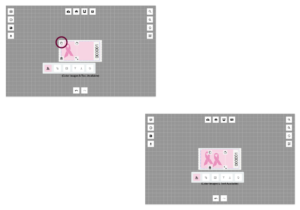
Step 1: Click on the image, text, or design, a box will appear around it.
Step 2: Click the icon with the two white boxes overlapping located in the upper
left hand side. A duplicate will appear.
NOTE: Use the two buttons marked Move Up and Move Down to change how your text or designs are layered.
Step 3: Click anywhere outside the object to clear editing box.
Rotating Images, Text, and Designs: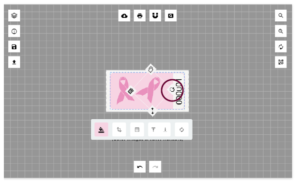
Step 1: Click on the image, text, or design, a box will appear around it.
Step 2: Click and hold down the curved arrow icon located in the top right of the editing box.
Then move the mouse up or down.
Step 3: Click anywhere outside the object to clear editing box.
Resizing Images, Text, and Designs: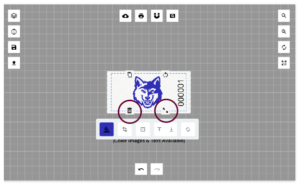
Step 1: Click on the image, text, or design.
Step 2: Use the editing box that appears around the image, text, or design. Click and hold
down the double arrow icon located in the bottom right corner of the editing box.
Then move the mouse up or down.
Deleting Images, Text, and Designs:
Step 1: Click on the image, text, or design, a box will appear around it.
Step 2: Click on the trash can icon located in the bottom left hand corner of the editing box.
Resetting To A Blank Product: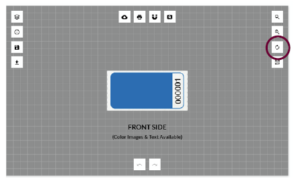
Step 1: There is a column of icon buttons at the right of the design product stage. Second from the
bottom, above the QR Code feature, will be a button with two curving arrows. When clicked it
will reset your product back to the beginning with nothing on it.
Undo Changes: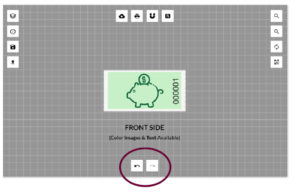
Step 1: Click on the left arrow located at the bottom of the stage area to go back a change.
Step 2: Click on the right arrow located at the bottom of the stage area to go forward a change.
Saving, Printing Or Downloading Finished Product Designs
Saving Your Finished Designs:
Step 1: Click on the save icon button (found in the left column of icon buttons, second from the bottom).
Step 2: Name your design and click the Save button.
NOTE: You do not need to save the design of your ticket. When you hit add to cart your order will be sent
to us along with your design. The extra option is there for anyone who needs an extra copy for a business or school.
View Saved Product Designs:
Step 1: At the top of the product stage is a row of icon buttons, to the far right there is a magnifying
glass in a square button, click it to preview your design.
Step 2: Click the ‘X’ in the upper right to exit.
Download Your Product Designs:
Step 1: At the top of the product stage is a row of icon buttons, to the far left there is a cloud icon button.
Click it to download your design.
Step 2: Select what type of file you would like to download, JPG, PNG or PDF.
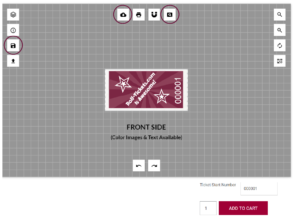
Ordering Your Final Product:
Step 1: When you’re finished designing your ticket, scroll down.
Step 2: There is a start number text box, you can put in where you would like numbering to begin.
NOTE: Numbers on our tickets can only be a max of 6 characters.
Step 3: Next, there is a text box for how many rolls you would like to order of your design.
Simply, put in your desired number and click add to cart.
NOTE: Our products are priced per 1,000 tickets on a roll, with no setup fees!
Below we share some common tips and how-tos. Still having trouble? Contact one of our sales reps with any questions.